Clone the Repo and Get Going!
To get a development environment to run, follow these steps:
-
Clone the repo and start the containers:
 git clone git@git.magenta.dk:os2datascanner/os2datascanner.git
 cd os2datascanner
 source build_env.sh # exports git variables for build arguments (not required)
 docker compose pull # pre-fetches images to avoid building locally
 docker compose up -d
You can now reach the following services on their respective ports:
- Administration module: http://localhost:8020
- Report module: http://localhost:8040
- Web interface for message queues: http://localhost:8030
OBS: You may encounter permission issues, for that, check out this section
-
Create users
Run the
quickstart_devcommand for both theadminandreportservices. This command creates a superuser (dev/dev), a client, an organization, and other necessary baseline objects.OBS: Due to how the admin and report module function together, it is important you run the command against
adminfirst. The admin module is the authoritative source and will synchronize anAccountandOrganization.docker compose exec admin django-admin quickstart_dev docker compose exec report django-admin quickstart_dev -
Start a scan:
-
Log into the administration module with the newly created superuser at http://localhost:8020
-
Go to "Filescans" at http://localhost:8020/filescanners/ You should now see a scan created for you, named "Lille Samba":

-
Start the scan by clicking the play button and confirming your choice.
-
-
Follow the engine activity in RabbitMQ (optional):
Credentials for the message queue web interface can be found in here in
dev-environment/rabbitmq.env.- Log into the web interface for RabbitMQ at http://localhost:8030
- Queue activity is available on the
Queuestab.
-
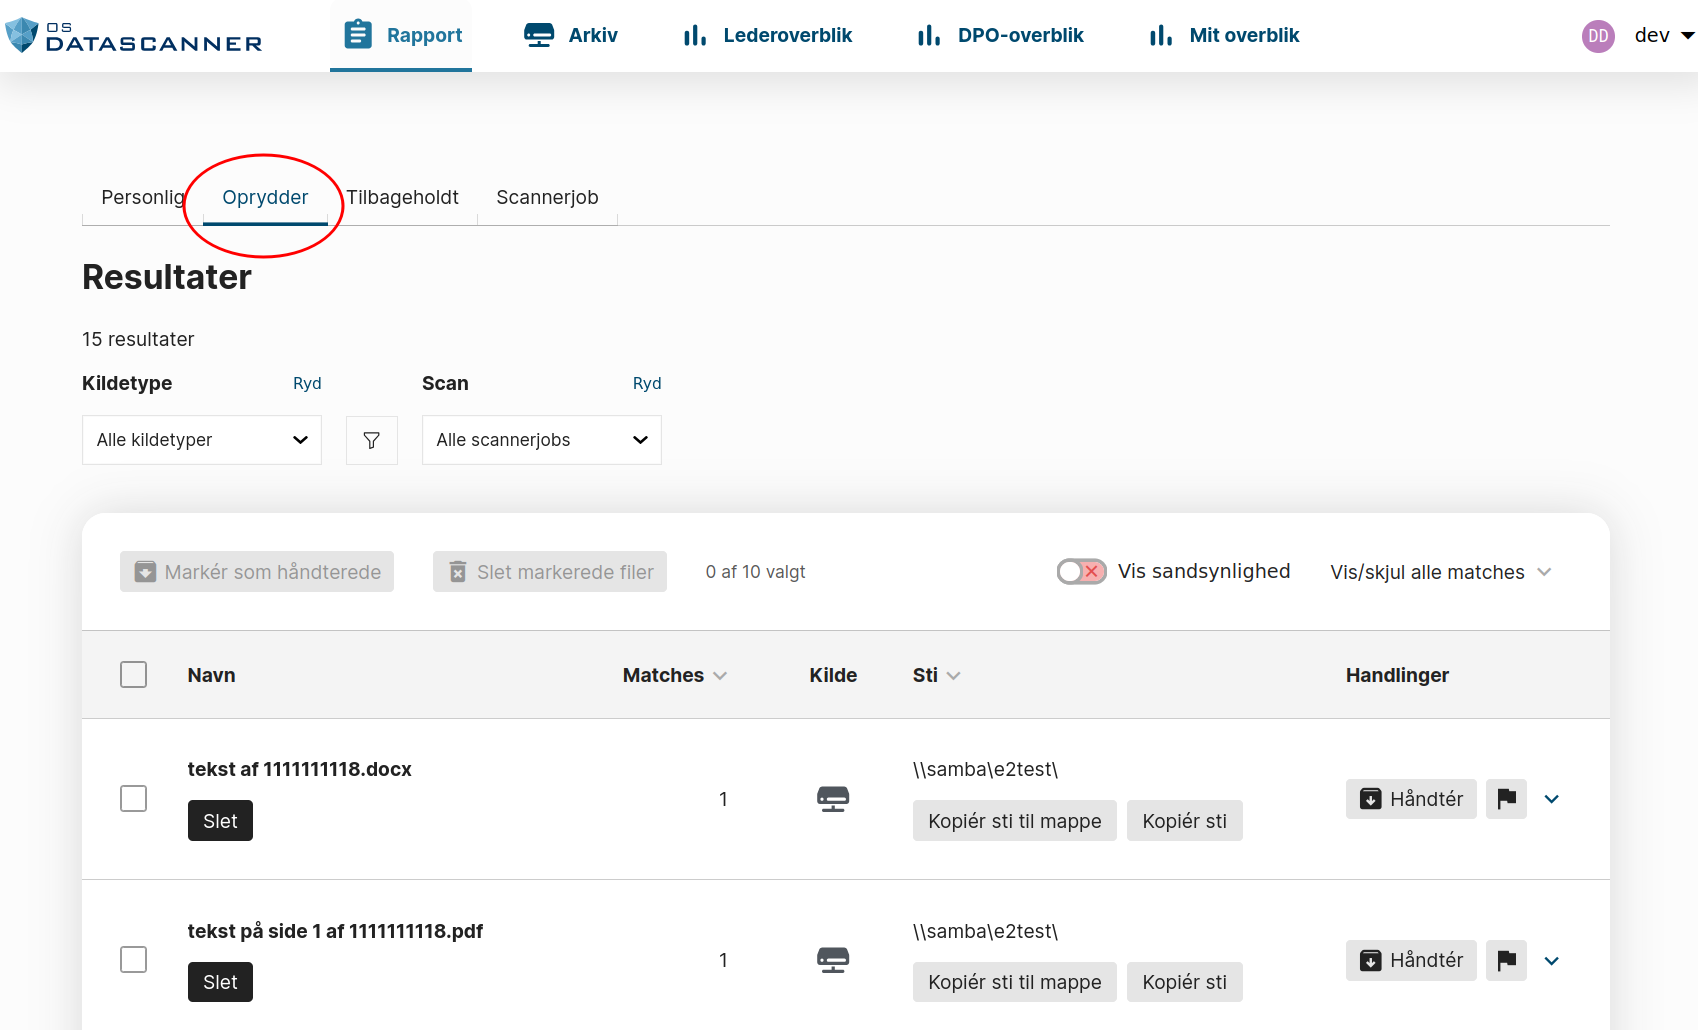
See the results:
Log into the report module with the newly created superuser at http://localhost:8040 The results from your scan, will go to your superuser as "remediator", navigate to that tab here:
Quickstart Commands for Extra Test Data
To quickly populate your development environment with test data, you can use the provided quickstart management commands. Here is the recommended flow:
1. Start the Project with the LDAP Profile
For testing organizational imports, you need to start the OpenLDAP server. Use the --profile ldap flag with docker compose:
docker compose --profile ldap up -d
This starts all the standard services and additionally runs the OpenLDAP service. The LDAP server is automatically prepopulated with data from dev-environment/openldap/01-corporation.ldif.
This file sets up a sample corporation with a hierarchical structure, including:
- A top-level "Organization"
- 113 Organizational Units (OUs) across 5 regions (e.g., NorthAmerica, Europe)
- A total of 501 user objects distributed throughout the hierarchy. (When importing, you'll have 502, because of "dev")
2. Set Up the LDAP Import Job
Now, run the quickstart_import_job command. This command configures the connection between OSdatascanner and the running OpenLDAP service.
docker compose exec admin django-admin quickstart_import_job
This will:
- Enable the necessary import features on the default client.
- Create an LDAPConfig object for the default organization, pointing to the test LDAP server (ldap-server:389).
- Configure the connection in the external Keycloak service, making the import job ready to run.
You can now navigate to the "Organizations" page in the admin UI (http://localhost:8020/organizations/) and start the import.
3. Generate Test Scan Results
Finally, to populate the report module with scan results, use the quickstart_test_data command.
# Generate 1000 reports for the universal remediator
docker compose exec report django-admin quickstart_test_data 1000

# Or, generate 50 reports for a specific, existing user
docker compose exec report django-admin quickstart_test_data 50 --username someuser
This command is optimized to generate a large number of DocumentReport objects quickly.